How to care for a Monstera Deliciosa | Complete guideline
In this article, we’re talking about the Monstera Deliciosa in all of its houseplant glory. I will go over water, light, soil, humidity, propagation, how to get splits and all that stuff.
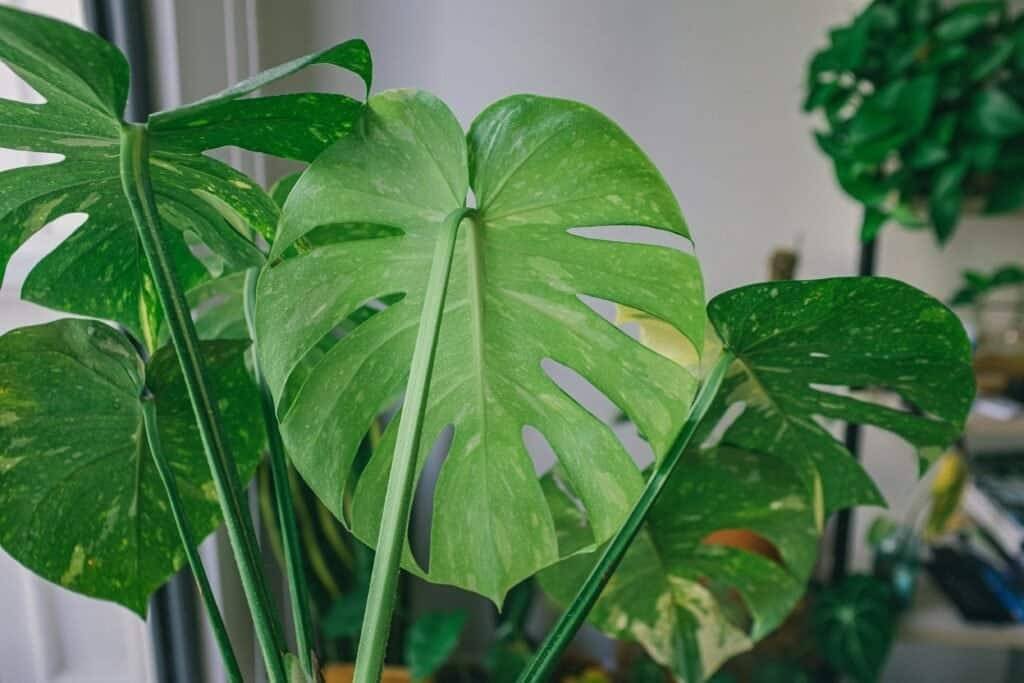
So, if that interests you, keep reading some basic overview of the Monstera Deliciosa. It is an extremely popular houseplant. And it is an epiphyte with aerial roots, which I will get to later. These plants can flower and fruit, which you’ll know about by reading about the Monstera Deliciosa . But that is extremely rare in the home and probably will not happen to you. So don’t worry about doing that. But these care tips will help you get the holes and slits that you probably want in your monstera.
The only thing I will point out about this houseplant is that even you bif you buy a small-based plant, it growsemely large. You should be careful when doing it in your home, but I will also share a kit for stunting a monster’s growth if it’s a plant you want to keep a bit smaller. Okay, so now lets let’s into the care of Monstera Deliciosa.
Table of Contents
Watering Your Monstera Deliciosa
Using a Moisture Meter
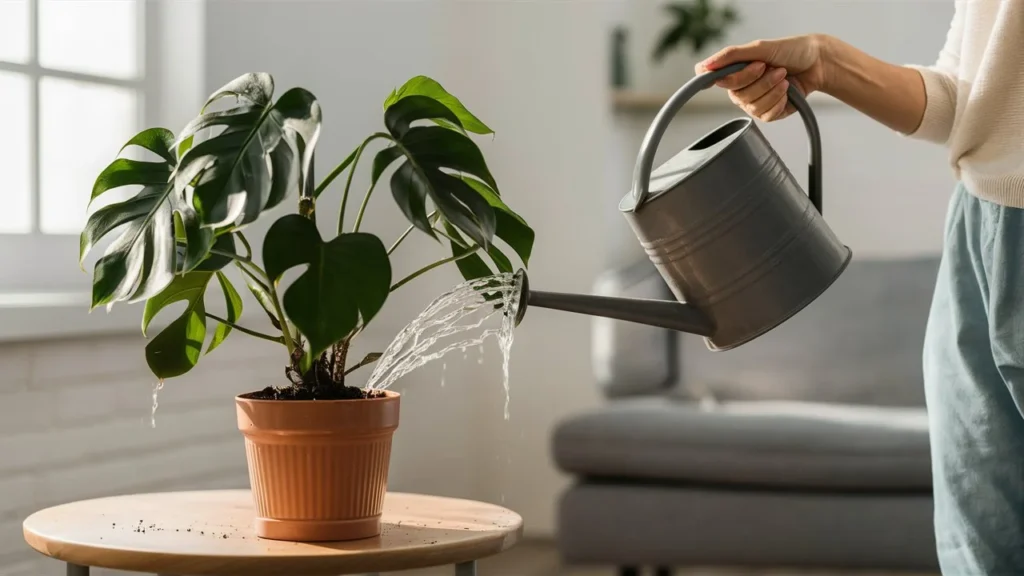
Monstera Deliciosa likes to stay fairly dry with a touch of moisture. I tend to water my Monstera when it gets to just below the moist mark on my moisture meter. So, I definitely recommend getting a moisture meter.
Visual Cues for Thirsty Monstera
There are some cues that can help you identify if your plant is getting too much water or getting less water. I discussed shortly about these:
Drooping Leaves
An easy way you can tell when a Monstera is thirsty is that its leaves will start drooping a little bit and be pretty soft. So you can bend them easily.
Hydrated Leaves
When they are hydrated, you’ll be slightly satisfied that you are over-watering your Monstera; you can tell because the leaves will turn yellow and soft. But on top of that, you’ll probably also find shininess and dark brown, black spots on your plant. And that is a sign of root rot. And basically, what’s happening in your plant is rotting.
Signs of Over-Watering
If you see some funhouses rotting, it is probably a sign of overwater.
Symptoms of Under-Watering
If you were underwatering your plant, the symptoms would be similar. Your leaves would probably turn a little bit yellow and soft, but you would also find the leaves a little bit more brownish and some crisping on the edges because the plant is dry.
If you want to know more about how to properly water your houseplants, I have a complete article on it. Click Here>>
Light Requirements for Optimal Growth
 Light Preferences
Monsteras are great houseplants because they do well in a broad range of light conditions. However, the only thing Monstera does not like is direct sunlight, so be careful if you aim for higher light levels. Avoid placing the plant in complete direct sunlight. To know more about light requirements for monster deliciosa, Click Here>>
Acclimating to Brighter Light
If you want faster growth, I recommend leaning towards a stronger light situation. Again, be cautious of direct light. If you’re moving the plant from a lower light area to a brighter one, incrementally increase the light to acclimate the plant. Moving it from low light straight to a south-facing window can shock the plant, so do this gradually.
Cleaning the Leaves
It’s important to clean the leaves regularly because they get big and will collect dust over time. Depending on your schedule, clean the leaves once a week or every other week. This helps the plant to photosynthesize more efficiently.
Signs of Too Much or Too Little Light
If the Monstera gets too much light, you will notice the leaves looking chlorotic, losing their bright green color, and showing signs of burning. Conversely, if the plant doesn’t get enough light, you’ll observe slow growth and smaller leaves without the characteristic holes or slits. To achieve those desirable fenestrations, optimal light conditions are essential.
Soil and Repotting Tips
When to Repot
The number one tip for Monstera Deliciosa is not to repot it unless it’s bursting out of its pots. Monsteras love to be root-bound, so even though they grow fast, some roots will probably poke out of the drainage hole. Don’t repot it until roots pour out of the bottom or start coming out of the top and the plant is declining.
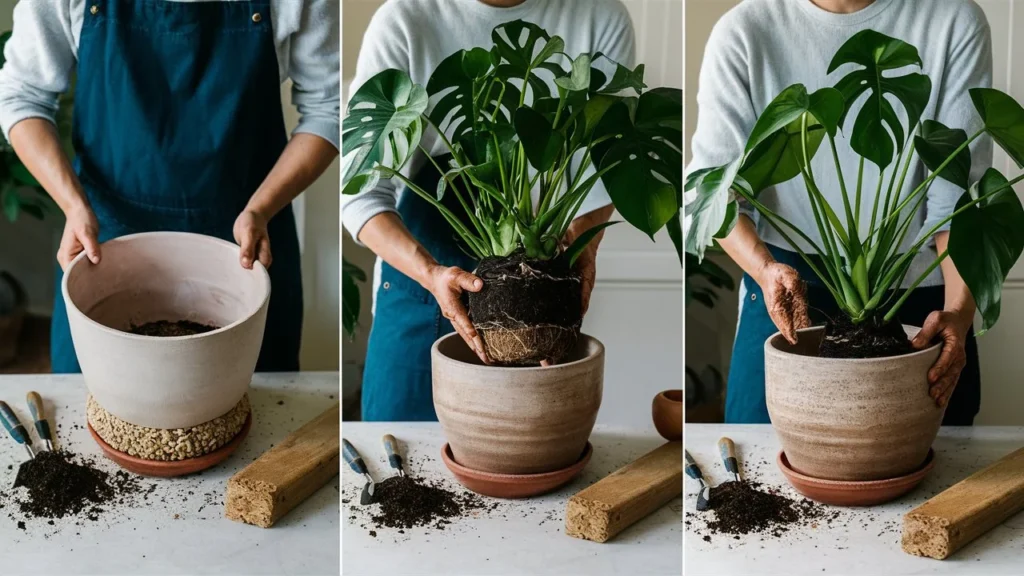
How to Repot
When you repot your plant, I recommend doing it in the spring or early summertime and only moving up about an inch or two. I like to pot mine up in a mixture of organic potting soil, perlite, a few mosquito bits, and some orchid bark because it is epiphytic, and I put mine in a terracotta pot. However, many people like to keep it in a nursery pot and put it in a little cover pot. It’s up to you. I prefer the porousness of terracotta. I am a terracotta person, for sure.
Staking vs. Sprawling
While repotting your Monstera, you’ll probably have to decide whether you want to stake it up and let it grow upwards or let it sprawl out and grow however it wants to. If you’re looking for those fenestrations, I recommend staking it up. It will also be a big space saver if you train it to climb up rather than out.
Controlling Growth
If you are out of space and your Monstera is taking over your room, and you want to stunt its growth, you can choose not to repot it. Keep it in its current pot size and prune it back aggressively, as they can get quite large.
Managing Aerial Roots
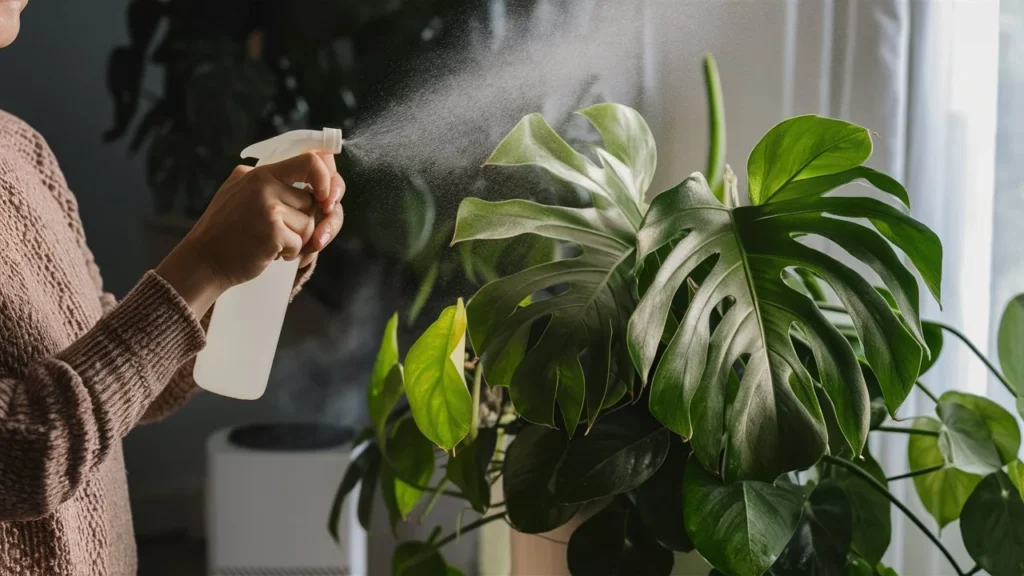
Aerial roots are roots that grow out of the soil and will pop out of nodes. You can leave the aerial roots to grow, wrap them up with the stake of your pot, or completely chop them off. It won’t harm the plant. If you leave them to grow, you can mist them and water your plant through the aerial roots a little bit. However, I prefer to let mine hang and clip them back slightly once in a while if I notice some rotting starting to form.
Humidity and Temperature Preferences
So, this is going to be a pretty quick and easy category. There is nothing fancy about it. They do have pretty average home temperatures, and maybe even a little bit warmer, probably 65 to 85 degrees Fahrenheit. As for humidity, they do appreciate higher humidity, but it’s not crucial.
If it’s my drift, you can give them a humidifier if you want, but my monster has grown a lot, and it’s pretty far from the most testifier. If you want to see faster growth, get a humidifier; that is what I’ll say.
Choosing the Right Firtilizer
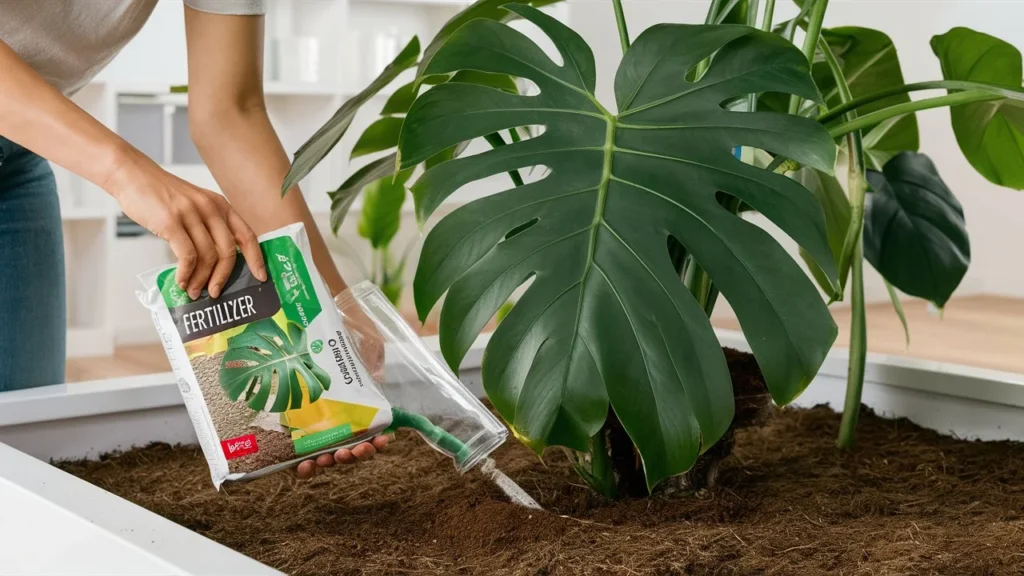
I have said this about 50 times already: These plants grow like crazy; they grow massive. So, as you can imagine, they want food. You will want to fertilize your Monstera during the growing season, spring/summer. I use Diploma organic balanced all-purpose fertilizer and dilute it in a gallon of water. I give it to my plants during watering time every two weeks.
Step-by-Step Guide to Propagating Monstera Deliciosa
Propagations are fantastic and extremely easy with this plant. My favourite method is to water propagate, but you can also do soil propagation here and probably propagate. I think spag works with pretty much anything. For any of these methods, you will want to find a node and just cut below the node because that is where roots will grow out.
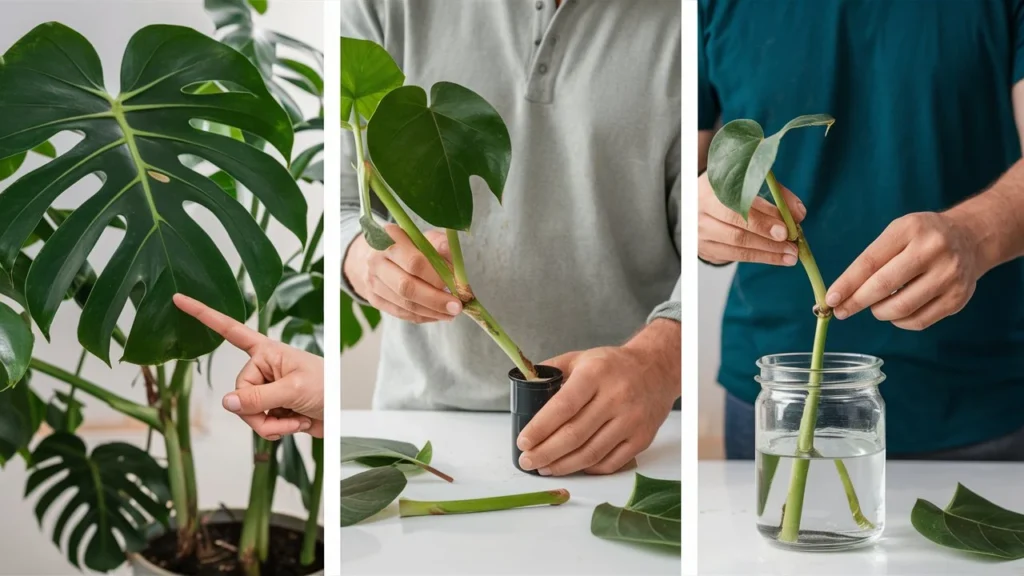
If you put the propagation in water, you’re going to want to change the water at least once a week. If you put it in soil, you’re going to want to keep the soil moist for the first week or two. Here is a quick step by step guide:
- Find a Node: Locate a node on the plant. This is where the roots will grow from.
- Cut Below the Node: Use clean, sharp scissors to make a cut just below the node.
- Place in Water: Put the cutting in a container of water.
- Change Water Weekly: Change the water at least once a week to keep it fresh.
The same goes for the spag. This plant would also do well with air layering, I think, but I haven’t tried that.
So, I cannot discuss much about it; I’m just putting a link for you about Monstera Propagation Via Air Layering. If you want to look into it more, your layering is probably a good option for this plant.




 *(Include an image of droopy leaves)* Some plants, such as calatheas, prefer moist soil at all times; otherwise, they develop that signature brown tissue damage on the leaves. The annoying thing here is that the damage cannot be reversed and can only be cut away, leaving you with a damaged plant. If the soil of your plant is bone dry, you'll notice that it's pulling away from the sides of the pot. This is because the soil has shrunk due to a lack of moisture, so make sure you are not letting this happen by watering a little more frequently. #### Signs Your Plant is Overwatered (darkgreen) Overwatering plants is a really common way that people kill their plants. Beginner plant enthusiasts often have a common misconception that houseplants need lots of water, but the reality is that these plants are native to hot climates where they may get periods of drought followed by large rain which rehydrates them. **Yellowing leaves** (red) can indicate an overwatering problem as well as an underwatering problem. If you are watering your plant too often and the soil is always wet, this can lead to root rot, which will begin to affect the leaves of your plant. **Limp and mushy leaves** (red) also indicate that you are overwatering your plant. This is particularly true with succulents such as Echeverias. Echeverias store water in their thick leaves and have difficulty storing excess water if you are watering your plant too often. This leads to mushy plants that eventually fall off.  *(Include an image of yellowing leaves)* Philodendron and Pothos plants tend to get mushy leaves that fall off if the soil is consistently soggy. My Philodendron Birkin recently developed some new brown leaves that fell off because I was overwatering it. Whereas crispy brown edges on leaves indicate an underwatering problem, if the whole leaves are turning brown, this tends to mean that the plant tissue is rotting due to too much water. You may also notice some water droplets on the ends of the leaves of some of your plants. This is the plant perspiring excess water through its leaves and can indicate that you are giving the plant too much water. Now, this tends to happen on plants that prefer drier soil, and I notice it quite often on my Philodendron Birkin and my Tradescantia Nanook. **Increased presence of fungus gnats** (red) can also be a sign that your plant is too moist. Fungus gnats like a moist top two inches of soil to breed and lay their eggs, so if your soil is wet, it creates a breeding ground for gnats. If you see lots of flea-like flies jumping around the top of your soil, I would just dial back on the watering and let the top two inches of the soil dry out before watering again. #### Watering Tips (darkgreen) It is important to allow the soil of your houseplant to dry out between waterings. This prevents the possibility of over-watering, which is one of the most common reasons people kill their plants. **Check the soil moisture** (red) before watering your plant by sticking your finger two inches into the soil. If it feels wet, leave it a few days and then check again. An even better way to check the soil moisture is to invest in a moisture meter. This device needs no batteries and tells you exactly how much moisture is in the soil, giving you control over watering your plants.  *(Include an image of a moisture meter)* When you identify that your plant needs water, make sure you give it a thorough soaking. Take your plant to a sink area and soak the soil four or five times until water drains out of the bottom each time. This ensures that all the soil in the pot gets moistened and there are no dry patches. **Bottom watering** (teal) is a method that has changed the health of my plants since I implemented it a couple of years ago. Place your plant in a container of water and let it absorb moisture from the bottom up. This method prevents water from getting on the leaves, which can cause leaf tissue damage. I hope this article was helpful. Now you know when to water your plants and when not to. Apply this knowledge to your plants and see the growth. Happy gardening! --- Incorporating these visual and formatting enhancements will make your article more attractive and engaging for your readers.](https://growinggaze.com/wp-content/uploads/2024/05/pexels-artempodrez-7242495-scaled.jpg)

